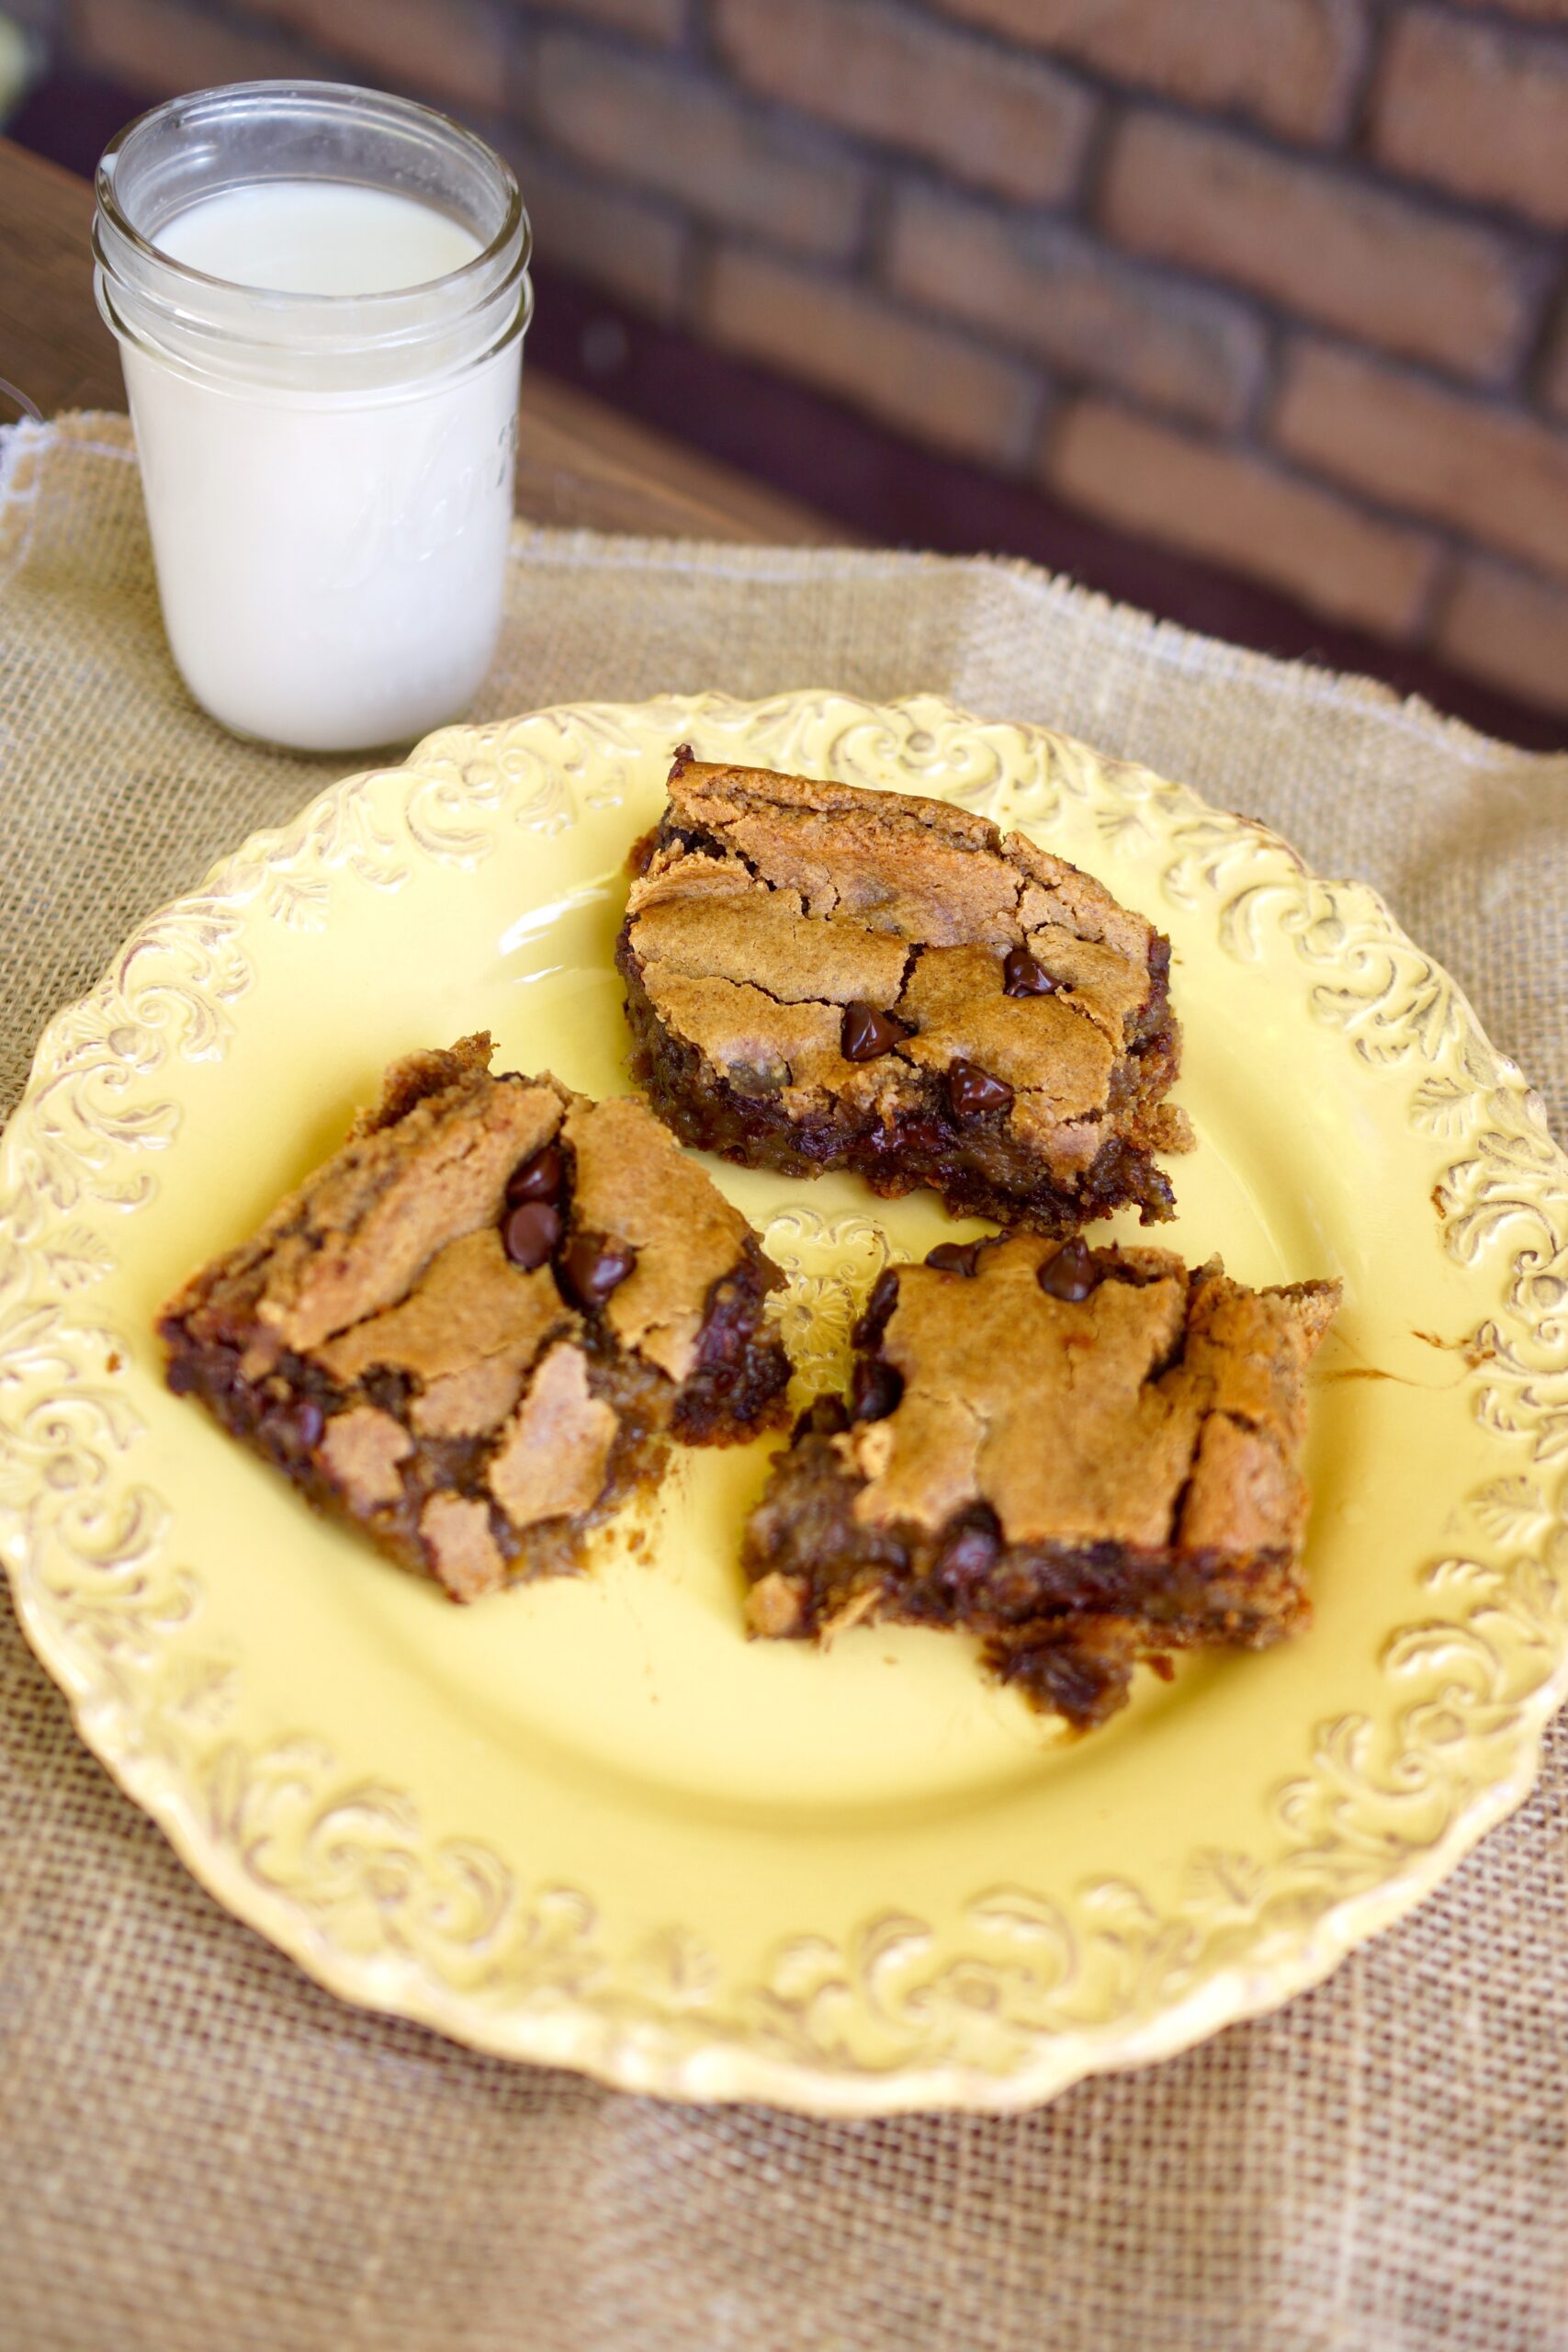
Chocolate Chip Peanut Butter Chickpea Blondies

Okay people, chickpeas (or garbanzo beans) really are magical! They are so versatile. You can eat them roasted, in soups, in curries, in veggie burgers, in salads, as hummus, and even transform them into decadent desserts! I’ve always wanted to bake more with chickpeas but am sometimes scared that they won’t turn out good. Well, after this test run, these blondies turned out delicious! These blondies have no refined sugar, no flour, no butter…basically vegan, gluten-free, and oil-free! Win, win, win! It’s a must try, especially if you love peanut butter and chocolate. These are fudgy, chewy, and crispy on the outside. It’s like biting into a little piece of peanut buttery, chocolatey heaven. Mmm. While you are eating these, just remember that these blondies are packed with fiber and protein. I’d say it’s a good post workout snack…no guilt at all! 🙂 You have got to try these, I promise the kids and adults will all approve.
Chocolate Chip Peanut Butter Chickpea Blondies

Ingredients
- 1 can (15 oz) chickpeas, rinsed & drained
- 1/2 cup all-natural peanut butter
- 1/2 cup pure maple syrup
- 2 tsp vanilla extract
- 1/4 tsp baking powder
- 1/4 tsp baking soda
- 1/2 cup dairy-free dark chocolate chips, reserve a few to sprinkle on top
- pinch sea salt
Instructions
- Preheat oven to 350 degrees and line with parchment paper or spray an 8×8 baking dish. You can also use a 9×5 loaf pan.
- In a food processor (or high speed blender), add all ingredients except chocolate chips and process until batter is smooth, similar consistency to hummus.
- Stir in 1/2 cup of the dark chocolate chips (reserving a few for the top).
- Scoop the batter into the lined pan and smooth it out evenly. Lightly press the remaining chocolate chips over the top.
- Bake for 30 minutes or until toothpick comes out clean if using an 8×8 pan or bake for 60 minutes if using a loaf pan. This will vary with ovens so be patient and wait until the edges are beginning to brown.
- Cool for 10 minutes in the pan then transfer to a rack for another 30 minutes for them to set. The longer the better, I’d say a couple hours. (I know, it’s so hard to wait that long!)
- Cut into squares and enjoy!


these look delicious 🙂
https://aspoonfulofnature.wordpress.com/
Omfg obsessed with this!! Can’t wait to try!
These ARE delicious! I just made them and my “picky eater” relations just came over and they ate and ate them. So good. Thanks for the delicious recipe!
Yay! I’m so glad they turned out just as good for you! Glad I can please your “picky eater”! 🙂