
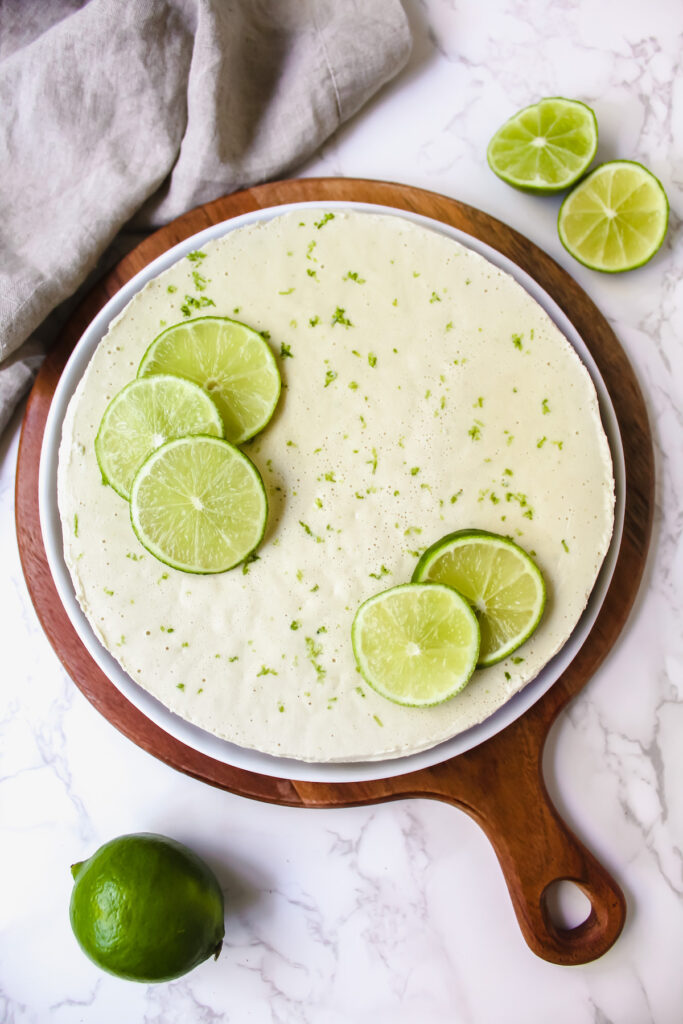
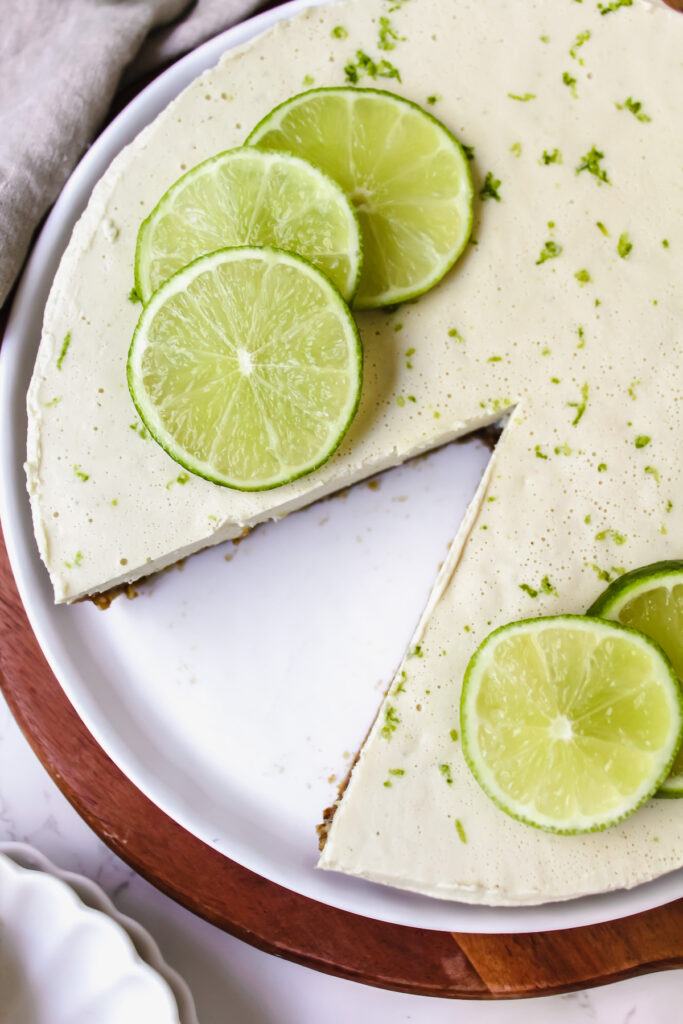
Vegan Key Lime Pie (no bake, gluten-free, refined sugar free)

This vegan key lime pie is refreshing, healthy, and so creamy. It’s one of my husband’s favorite pies and so perfect for summer! The filling is so dang good, I have to restrain myself from eating it all when I’m making it. If you are looking for an easy, no bake pie, this one’s for you!
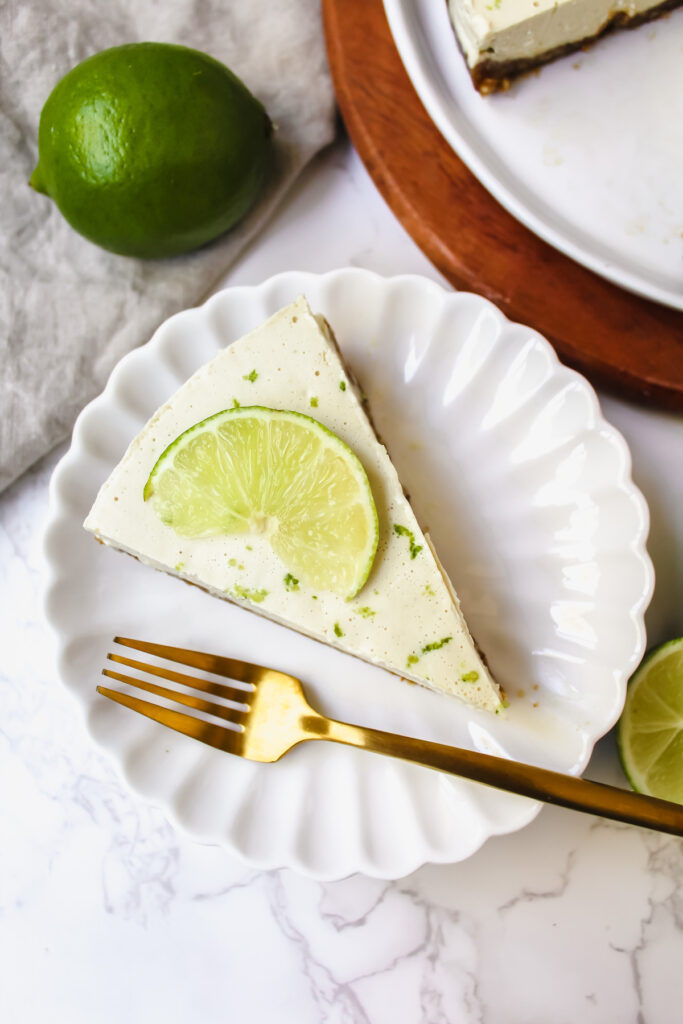
The filling to this key lime pie is made from cashews and coconut milk, which gives it this super creamy texture. You can use either regular limes or key limes to make the pie. Pro tip, zest your limes before juicing! It’s way easier and saves so much time! I can literally drink the filling!
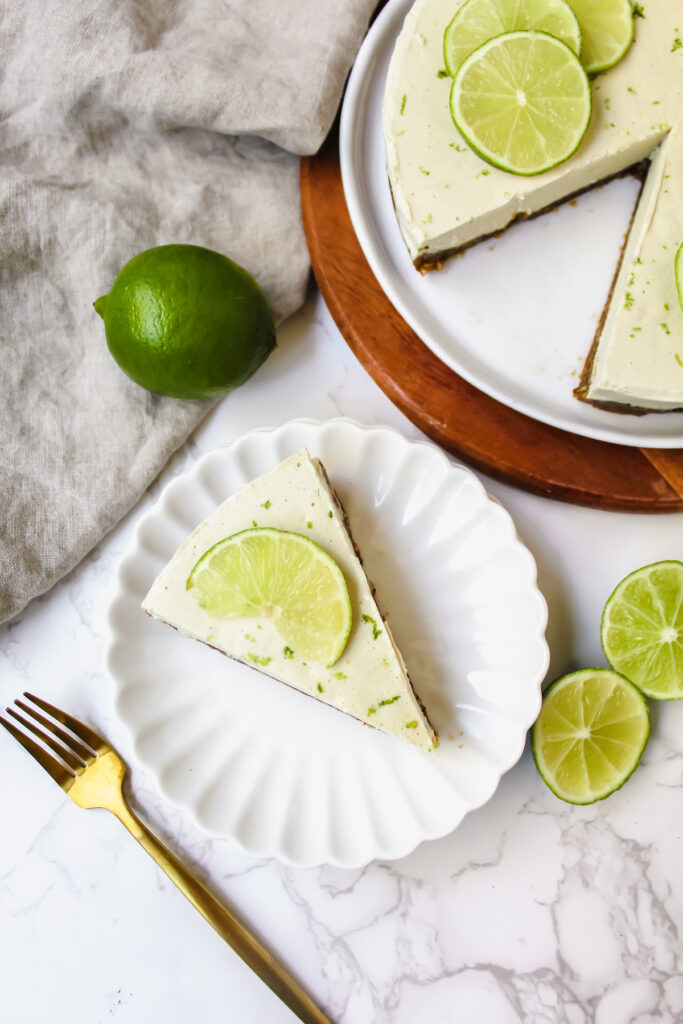
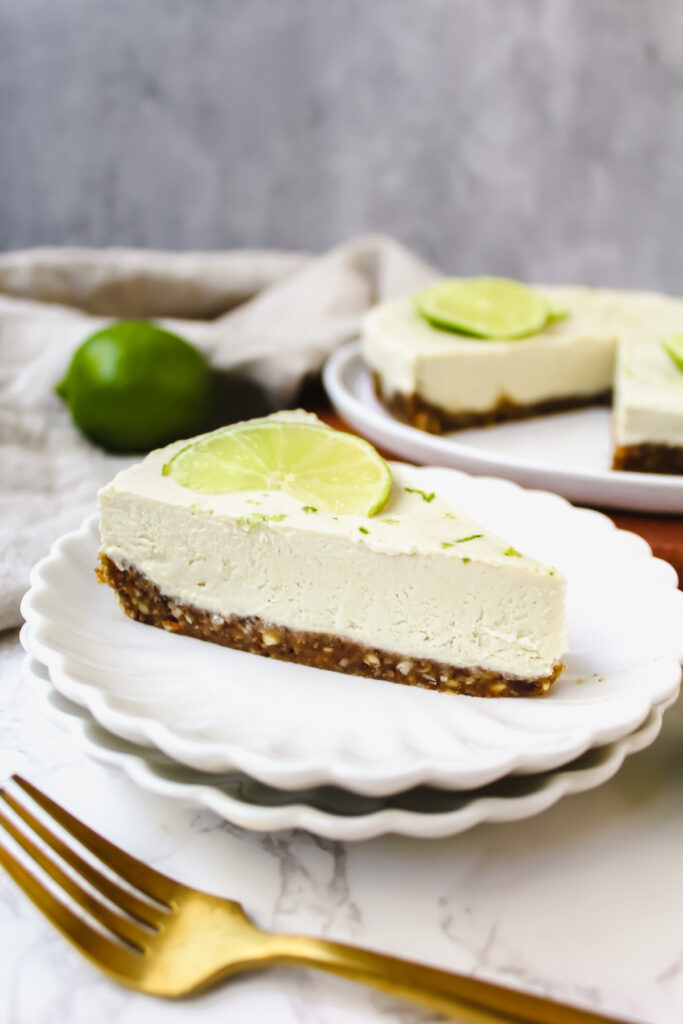
The pie crust is made from just dates and nuts. You can use whatever nuts/seeds you like. The crust reminds me of a Larabar. It’s simple and adds the perfect sweetness/texture to the pie. Feel free to use a more classic graham cracker crust if you want, but I wanted to keep this simple and no bake.
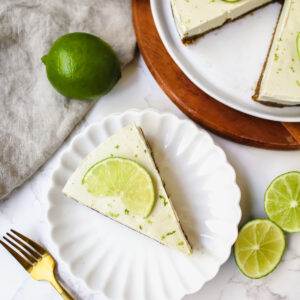
I absolutely just love this pie. It’s so refreshing, especially on a hot day. All the textures and flavors are amazing and it’s just so dreamy. It only takes like 15 minutes to make this pie! So incredibly easy and only takes a few ingredients. Love how simple it is!
This wholesome and healthy vegan key lime pie is gluten-free and refined sugar free too. If you make this pie, tag me @nutsaboutgreens on Instagram so I can see your creations!
Vegan Key Lime Pie (no bake, gluten-free, refined sugar free)
Ingredients
Crust
- 1 cup pitted Medjool dates, about 10-12 dates (soak in warm water for 10 min if super dry)
- 1 cup raw nuts (I did half walnuts, half almonds)
- pinch of sea salt
Filling
- 1 1/4 cup raw cashews, soaked for at least 4-8 hours
- 3/4 cup full-fat canned coconut milk, well shaken
- 1/4 cup coconut oil, melted
- 2 Tbsp lime zest
- 1/2 cup lime/key lime juice, (about 5 limes or 8 key limes)
- 1/3-1/2 cup pure maple syrup (depending on how sweet you want it)
Instructions
- Line an 8 inch cake pan with 2 strips of parchment paper about 3 inches wide and lay them criss cross on the bottom of the pan. This creates tabs so you can remove the pie easier once it’s frozen.
- In your food processor, add all the crust ingredients. If your dates are super dry, make sure to soak them in warm water for 10 minutes then drain well. Process until nuts and dates are broken down and in small pieces that stick together. It should stick together when you squeeze it in-between your fingers. If it’s too crumbly, add a tiny bit of water (1/2 tsp at a time) and pulse the food processor again. If it’s too wet, add more nuts.
- Press crust down into the pan and make sure it is evenly spread throughout. You can wet your fingers so it doesn’t stick to your hands as much. Firmly pack it down, then place in the freezer while you make your filling.
- To make the filling, drain the soaked cashews and add all filling ingredients into your high speed blender. Blend until smooth, scraping down the sides halfway through. Taste and adjust flavors. You can add more lime juice if you want it more tart or more maple syrup if you want it sweeter.
- Pour filling into prepared pan with crust. Drop the pan against the counter a few times to get the air bubbles out and smooth out the top. Sprinkle extra lime zest on top if desired. Place in the freezer for at least 6 hours or overnight.
- When you are ready to eat it, let it sit out at room temperature for 10 minutes. Then hold on to the tabs and carefully lift the pie out of the pan. Place on a plate and let it sit for another 5-10 minutes to thaw more. Slice and enjoy! Keep leftovers in the freezer.